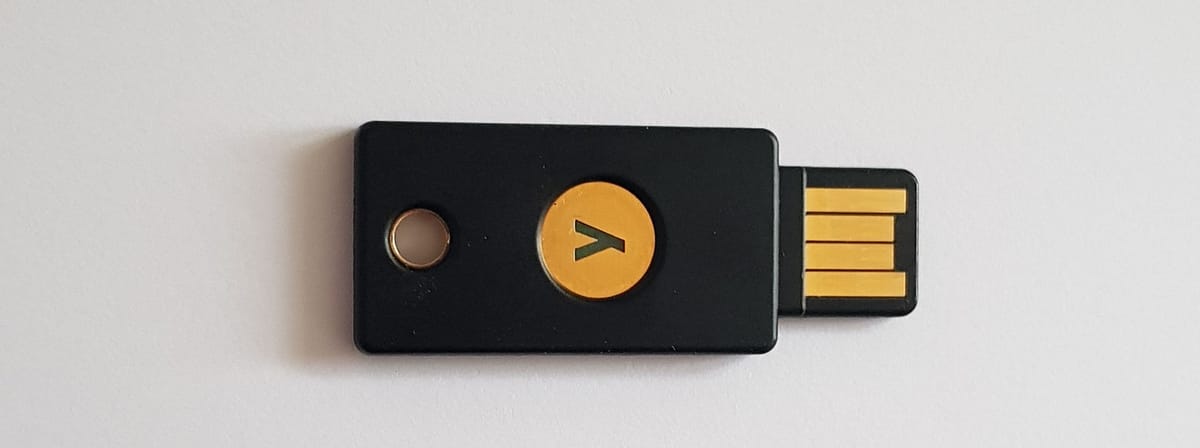
This instruction is primarily intended for my own documentation, but published here it can serve others as well.
My personal (client) certificate was generated using the Mozilla Firefox browser. To move the certificate key combination to my Yubikey I had to make a backup of the certificate. In Mozilla you are able to create a P12 backup of the certificate including key (remember the password!).
1. Extract certificate and key
$ openssl pkcs12 -in person.p12 -nocerts -out privateKey.pem
Enter Import Password:
Enter PEM pass phrase:
Verifying - Enter PEM pass phrase:

$ openssl pkcs12 -in person.p12 -clcerts -nokeys -out publicCert.pem
Enter Import Password:
2. Remove password on the key
$ openssl rsa -in privateKey.pem -out privateKey-nopassword.pem
Enter pass phrase for privateKey.pem:
writing RSA key
3. Import the key
$ ykman piv import-key -P ****** --pin-policy ONCE 9a privateKey-nopassword.pem
4. Import the certificate
$ ykman piv import-certificate -P ****** 9a publicCert.pem
Enter password to decrypt certificate:
Aborted!
Huh? That’s strange. The certificate is not password protected. It appears there are some attributes placed above the actual certificate. Remove those lines so that ‘—–BEGIN CERTIFICATE—–‘ is on top.
5. Import the certificate again
$ ykman piv import-certificate -P ****** 9a publicCert.pem
6. Cleanup
Since the certificate and key are now on the smartcard you can safely delete them from disk:
$ rm publicCert.pem privateKey.pem person.p12
As soon as you configure your Yubikey as smartcard for Firefox you can also remove the certificate from the Mozilla Certificate store.
Done!
For reference, this instruction was created on a Arch Linux installation.


Member discussion: